How to Start Seeds Inside – akukskitchen.com
  • About Me
  • About Me
  • Meal Plans
  • Privacy Policy
  • Privacy Policy
  • Travel
A Kuk's Kitchen

Vibrant health, one bite at a time.

  • About Me
  • About Me
  • Meal Plans
  • Privacy Policy
  • Privacy Policy
  • Travel
Garden  /  March 3, 2022

How to Start Seeds Inside

by Rebekah Kuk

Four Steps to Starting Seeds Inside

Hello everyone! Are you excited about the warming temperatures and daffodil stems poking through the ground? Perhaps you’ve come across some crocuses or noticed buds on the trees? I cannot wait for spring and I’ve started early by planting seeds indoors.

Have you started seeds inside before? Does it seem overwhelming to you? Let me walk you through four steps to starting seeds inside.

First, we will take stock of what we have. Then, we will choose what to plant. Next, we’ll make sure we have the proper supplies and, lastly, we will learn some tips for nurturing our seedlings.

Read on, and don’t forget to leave me a comment below to let me know how you do!

Taking Stock

Um, I think I have too many seeds.

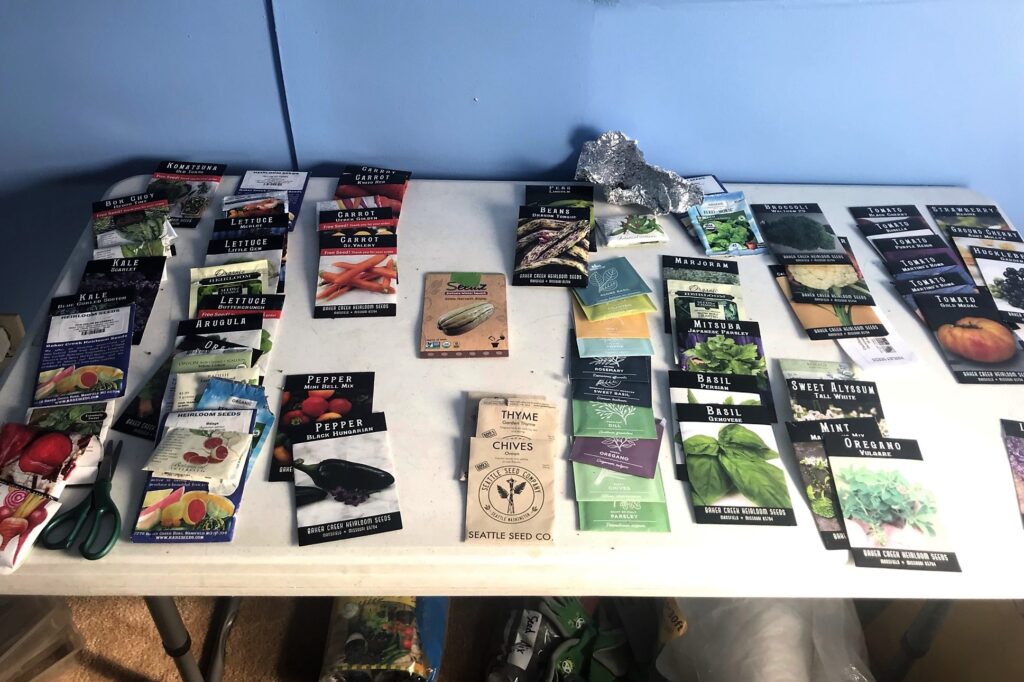
As you can see in the photo above, I have a lot of seeds. Probably too many. It’s time to start sharing! But I took stock of what I had and decided what to plant.

Whether this is your first year starting seeds inside or you’ve done it in the past, the first step is to take stock of what seeds you already have. Perhaps you’ve picked up some seeds you are interested in at the hardware store on a whim, or maybe you have a green thumb neighbor who offers seeds every year. Check them out, and see if you have the proper growing conditions for those seeds. Full sun? Part sun? Soil type? If everything lines up, and if the seeds are a vegetable you want to eat, then get started with those.

Do you have nothing? Time to go shopping. Figure out what you want to grow, and then go shopping for seeds according to your zone and planting conditions. Check out this last post for tips on how to plan your garden.

Choosing What to Plant

I chose what to plant based on what I wanted to eat.

After taking stock, choose what you want to plant. Consider what you want to grow, eat, and perhaps preserve this year. Consider the space you have and how much sunlight your garden gets. Then, get to work gathering your supplies. More considerations for what to plant can be found in my last post, How to Plan Your Vegetable Garden.

Using the Proper Supplies

Make sure you have the proper supplies before getting started.

In order to set up my seed planting, I used the following items:

  • Storage shelves to hold supplies and seed trays
  • Soilless mixture to plant seeds
  • Trays with divided cells specific for seed planting
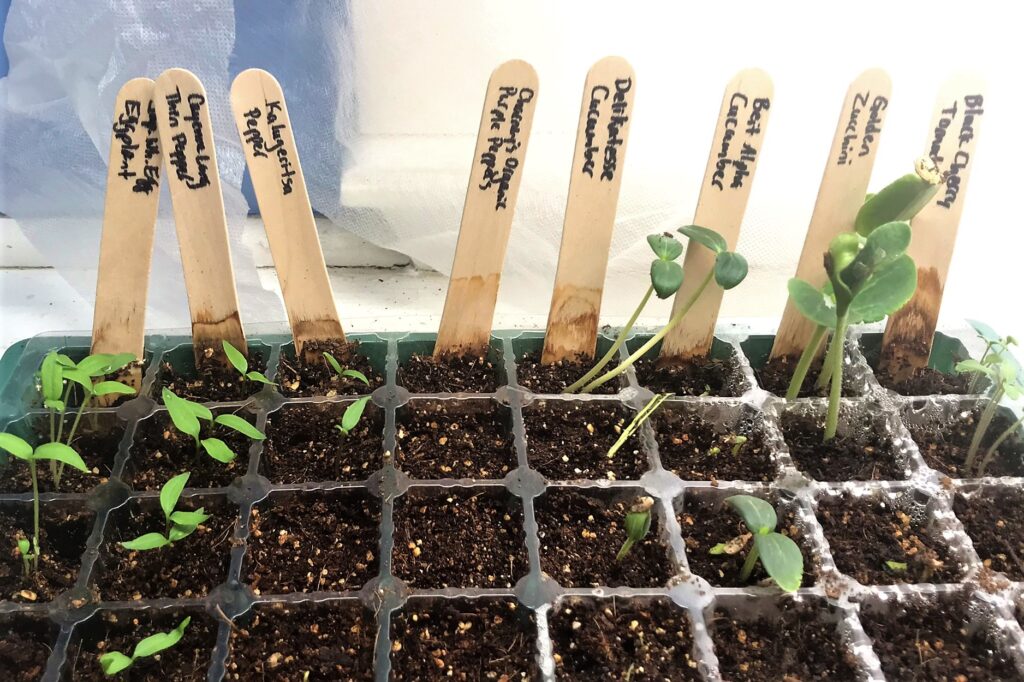
  • Popsicle sticks and Sharpie to label the seeds
  • Heat mats to keep the seeds warm so they germinate
  • Grow lights to encourage them to grow big once they sprout

There are many types of supplies online and at garden centers to get you started with seeds. Choose what suits you best.

If you have a south facing sunny window, you may not need grow lights. I got them this year because last year my seedlings didn’t seem strong enough to transplant.

For more information on supplies, feel free to check out last year’s post on starting seeds.

Nurturing the Seedlings

Using shelves to tier seed trays

Once your seeds have sprouted, make sure to keep them at a steady, warm temperature and don’t let the soil dry out. If the seedling is stressed, it can weaken the plant and cut down on its productivity. You want to baby your seedlings so they have the best start possible, giving you the greatest return on investment.

In order to keep the soil from drying out between watering, cover it with a plastic lid or plastic wrap. Just be sure to allow the light to still come through.

When your seedlings are bigger, you can start to “harden them off.” This means you want to gradually acclimate them to the outdoor elements. Set them out in the shade for an hour, and the next day increase the time to an hour and a half. Eventually, set them in partial sun. Little by little, help them to toughen up to the elements outside. You want to avoid setting them in harsh sun at first or setting them out on windy days.

Eventually, you’ll be able to plant them in your garden and you will be so pleased to have done this yourself. You can do it!

Thanks for reading, and check out my video below on how to start seeds indoors. And leave me a comment! I love to hear from you.

Rebekah

You can do it! Good luck!
close
Raw Milk Yogurt
A Kuk's Kitchen
Vibrant Health, One Bite at a Time

Hello! It's a pleasure to meet you.

Sign up to receive a Free Meal Plan featuring Five 30 Minute Meals, as well as awesome content in your inbox, every month.

We don’t spam! Read our privacy policy for more info.

You're on the list! Check your inbox or spam folder to confirm your subscription.

Tags

  • DIY
  • Seedlings

Post navigation

How to Make a Basic Frittata
How to Make Raw Milk Yogurt

Share your thoughts Cancel reply

Your email address will not be published. Required fields are marked *

Recipe Rating


Recent Comments

  • Rebekah Kuk on Salad Dressing for Candida Diet
  • Tyria on Salad Dressing for Candida Diet
  • Rebekah Kuk on Low Histamine Almond Oat Cookies
  • Sabrina mar on Low Histamine Almond Oat Cookies
  • Theresa on Low Histamine Almond Oat Cookies

Pages

  • About Me
  • About Me
  • Meal Plans
  • Privacy Policy
  • Privacy Policy
  • Travel

Categories

  • Animal Based
  • Appetizer
  • Beans
  • Beverage
  • Bread
  • Breakfast
  • Brunch
  • Cake
  • Casserole
  • Cheese
  • Chickens
  • Christmas
  • Condiment
  • Cookie
  • Dessert
  • Dinner
  • DIY
  • Egg-Free
  • Eggs
  • Fall
  • Garden
  • Gluten-Free
  • Grain Free
  • Gratitude
  • Healthy Habits
  • Jam
  • Kitchen Basics
  • Lunch
  • Lunch For the Week
  • Make Ahead
  • Nut-Free
  • Nuts
  • Paleo
  • Pest Control
  • picnic
  • Potatoes
  • Preserving
  • Road Trip
  • Salad
  • Sandwich
  • Side
  • Slow Cooker
  • Smoothie
  • Snack
  • Soup
  • Spain
  • Spring
  • Summer
  • Thrift
  • tortillas
  • Travel
  • Uncategorized
  • Vegan
  • Vegetables
  • Vegetarian
  • Year End Review

Recent Posts

  • Slow Cooker Beef Shank Stew
  • Simple Make Ahead Meals
  • Easy Thanksgiving Meal Plan
  • Butternut Squash and Ground Beef Casserole
  • Sweet and Crunchy Animal Based Granola

Archives

  • May 2023
  • November 2022
  • October 2022
  • September 2022
  • August 2022
  • July 2022
  • June 2022
  • May 2022
  • April 2022
  • March 2022
  • February 2022
  • January 2022
  • December 2021
  • November 2021
  • October 2021
  • September 2021
  • August 2021
  • July 2021
  • June 2021
  • May 2021
  • April 2021
  • March 2021
  • February 2021
  • January 2021
  • December 2020
  • November 2020
  • October 2020
  • September 2020
  • August 2020
  • July 2020
  • June 2020
  • May 2020
  • March 2020
  • January 2020
  • December 2019
  • November 2019
  • October 2019
  • September 2019
  • August 2019
  • July 2019
  • August 2015
  • August 2014
  • July 2014
  • June 2014
  • May 2014
  • January 2014
  • October 2013
  • August 2013
  • March 2013
  • January 2013
  • December 2012
  • September 2012
  • August 2012
  • July 2012
  • May 2012
  • April 2012
  • March 2012
  • February 2012
  • January 2012
  • November 2011
  • October 2011
  • August 2011
  • July 2011
  • June 2011
  • May 2011
  • April 2011
  • February 2011
  • January 2011
  • November 2010
  • October 2010
  • September 2010
  • August 2010
  • April 2010
  • March 2010
  • February 2010
  • November 2009
  • October 2009
  • September 2009
  • August 2009
  • July 2009
  • June 2009
  • May 2009
  • April 2009
  • Elara by LyraThemes
  • Made by LyraThemes.com
Cleantalk Pixel
RSS
Follow by Email
Facebook
fb-share-icon
Twitter
Tweet